Setting up a dedicated charging station for your devices is a simple way to keep your home organized and ensure all your gadgets are charged and ready to use. Whether you have smartphones, tablets, smartwatches, or other portable electronics, a well-designed charging station keeps cords neat and devices accessible. In this guide, we’ll walk you through choosing the right spot, gathering materials, and assembling a functional charging station tailored to your needs.
Why Create a Charging Station?
Before diving into the setup process, here are some benefits of having a charging station:
– Organized space: Avoid cluttered countertops and tangled cords.
– Centralized charging: All devices in one location, so they’re easier to find and charge.
– Safer environment: Reduces risk of tripping over chargers or damaging cords.
– Efficient use of power outlets: Multiple ports and power strips in one place.
Step 1: Choose the Perfect Location
Begin by selecting a convenient and accessible place in your home for your charging station. Consider:
– Proximity to power outlets: You’ll need easy access to plugs.
– Common household areas: Living room, kitchen counter, bedside table, or home office are popular spots.
– Clean and flat surface: A sturdy table, shelf, or desk works best.
– Away from water sources: Keep electronics safe from spills or moisture.
Step 2: Gather Essential Supplies
Depending on your setup, you will need the following items:
Charging Equipment
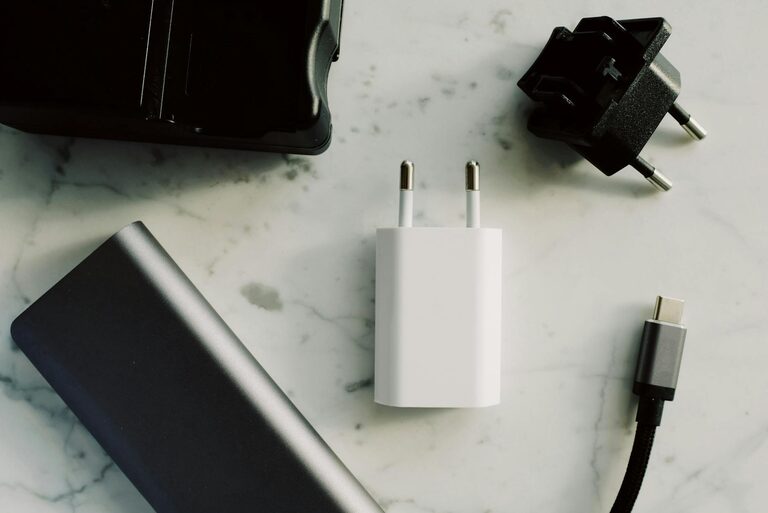
– Multi-port USB charger or individual chargers for each device
– Power strip or surge protector if multiple devices need plugging in
– Charging cables compatible with your gadgets (USB-C, Lightning, micro-USB)
Organizational Tools
– Cable organizers (clips, sleeves, or boxes)
– Charging station box or tray (optional)
– Small containers or holders for accessories like earbuds or adapters
– Labeling stickers or tags to identify cables if needed
Step 3: Prepare and Organize Cables
Keeping cables neat is key to a tidy station. Tips to manage cables:
– Use cable clips or adhesive holders to route cords along the table edge or wall.
– Bundle excess cable length with Velcro straps or twist ties.
– Opt for shorter cables when possible to reduce clutter.
– Consider a charging station with built-in cable management features.
Step 4: Set Up the Power Hub
To handle multiple devices, using a multi-port USB charger is helpful:
– Plug the multi-port charger into the power strip or directly into an outlet.
– If using a power strip, ensure it has surge protection to keep devices safe.
– Position the power strip and charger so cords can reach each device comfortably.
Step 5: Arrange Your Devices
Now place your gadgets on or inside the charging station:
– Place the devices so their charging ports align with cables.
– Use stands or holders for smartphones and tablets to keep them upright.
– Keep smaller devices like smartwatches or earbuds in dedicated compartments or holders.
– Avoid stacking devices to prevent overheating.
Step 6: Personalize and Maintain Your Station
Add finishing touches to fit your style and routine:
– Decorate with plants, photos, or artwork nearby to make the space inviting.
– Regularly clean the area to avoid dust buildup on devices and cables.
– Check cables periodically for wear and replace if needed.
– Adjust the station as your device collection changes.
Bonus Tips for a Smart Charging Station
– Wireless charging pads: Integrate wireless chargers for compatible devices to reduce cable clutter.
– Label cables: Use color-coded or labeled cables to easily recognize each connection.
– Portable charging: Include a small shelf or spot for portable power banks.
– Night mode: If the station is near your bed, consider dimmable lights or charging times that avoid signals interfering with sleep.
Conclusion
Setting up a charging station is a practical and simple project that improves your daily routine and keeps devices organized. With thoughtful placement, the right equipment, and some cable management tricks, you can create a neat, efficient space to charge all your gadgets. Try these steps and enjoy a clutter-free, powered-up home!
—
Feel free to share your own charging station ideas or ask questions in the comments below!